We’re excited to announce our integration with Delightex, an incredible tool that gives your students the power to create 3D worlds in any browser and experience them in 360 with ClassVR.
The possibilities are endless – students can build scenes from stories, create interactive virtual museum exhibits, explore physics or apply their coding skills to bring worlds to life.
We can’t wait to share some great teaching ideas and showcase how schools are putting creative VR tools into the hands of their students – but first, we’ll run through the basics.

Hannah Davies
Avantis Educational Specialist (UK)
Installing Delightex on the Headsets
This process will only need to be followed once. After the Delightex app has been installed on a headset, Delightex worlds will open automatically.
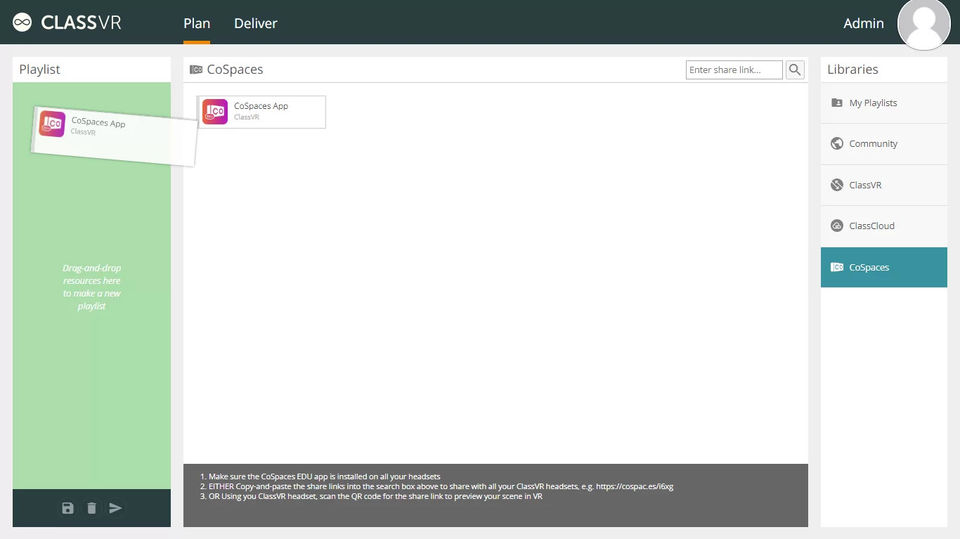
Go to http://portal.classvr.com and make sure you are in the Plan area. Select the Delightex Library on the right-hand side.
From here you will see a Delightex app which you will need to drag to the Playlist on the left in the same way as you would for other VR experiences.
Go to the Deliver area of the portal. Ensure your headsets are connected to the internet and then click Play to send and install the app on all connected devices.
You will see a blue progress indicator moving along the name of each headset.
Once it the installation has finished, a colorful Delightex EDU icon will appear next to the headset names on the Deliver tab.
Creating a 3D World in Delightex
Delightex allows students to build a world in a web browser; ClassVR allows them to explore their world in 360 degrees.
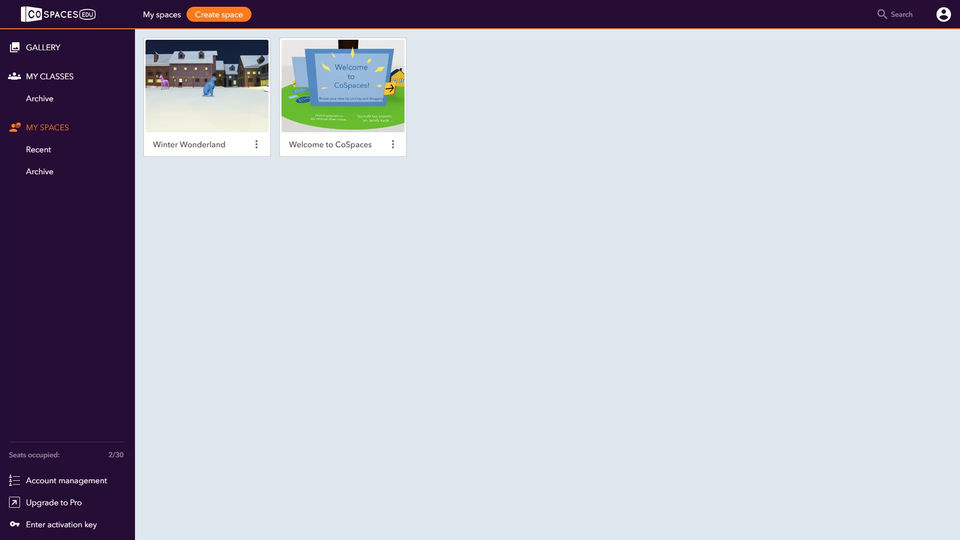
To get started with delightex, visit https://www.delightex.com/ and sign up for free as a teacher. Once your account has been set up and you’ve logged in you can create a class and begin inviting students. To play with the world-building tools yourself, click My Spaces:
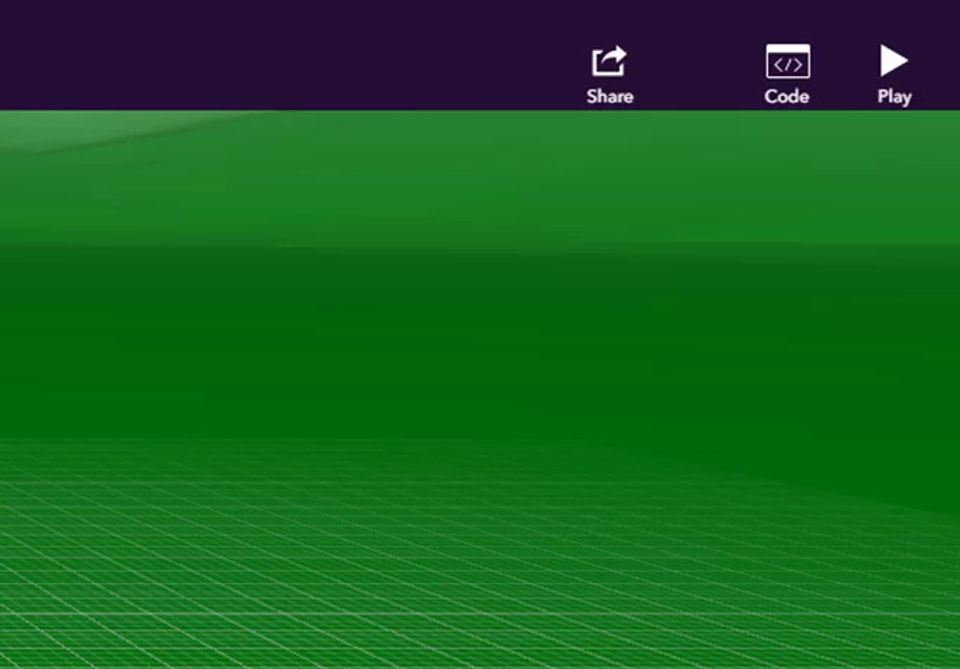
Just click the ‘Create Space’ button at the top of the screen to get started. Once you’re in your Space, you can start exploring all the great features. Try changing the environment, adding objects, or even using code to create changes in your Space.
Delightex also have a brilliant array of instructional videos available on YouTube that showcase all the useful features:
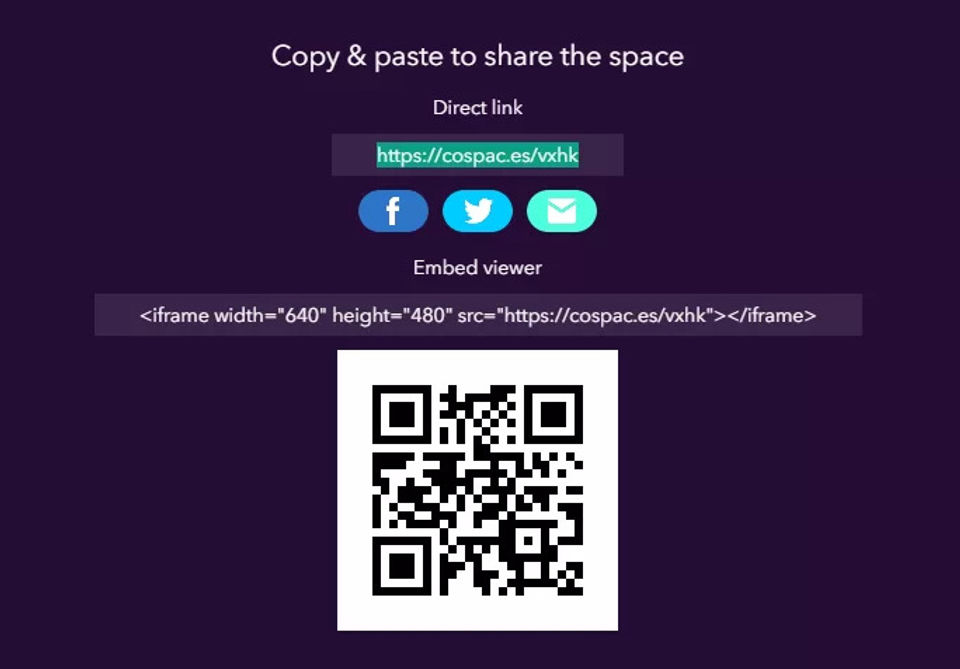
Once you’ve created a Space and would like to experience it inside a ClassVR headset, just click the Share link at the top of your Space to view the QR code and share link:
Once you’ve invited some students to your class, you’ll need to enable sharing in the settings so they can experience their creations in VR. To do this, go back to the main studio page and click ‘Account management’ at the bottom left of the screen. Next to each student’s name, you can see if sharing is permitted – to enable it, click the three dots and select ‘Allow sharing’:

Using Delightex on the Headsets
Delightex worlds can be launched either using the share QR code, or from the ClassVR portal
Launching from QR Code
This option is ideal for when students are designing a world on the computer and want to test it out in VR. It could also be embedded in a piece of work or added to displays to make them interactive.
To launch from a QR code, simply open the Scanner app on the headset by looking at the icon and making the select gesture.
Once it has launched, look at the QR code for your delightex world until you hear a beep.
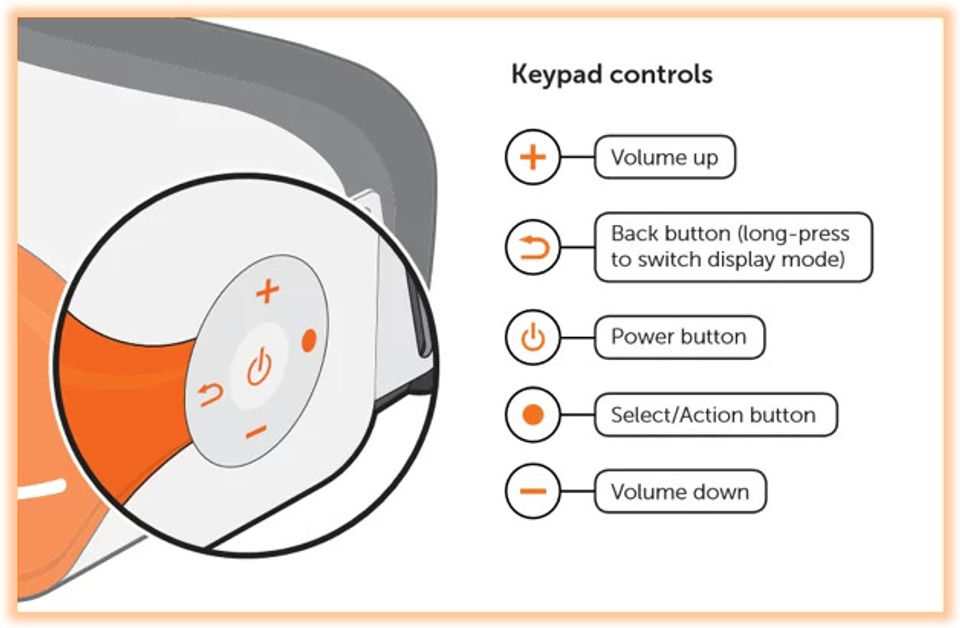
Use the select/action button on the side of the headset to open the scene and to move within the space (this button is marked either with a dot or with an M).
Launching from the Portal
This option is perfect if you want all students to experience a particular scene or if you want to share the student work during a review phase.
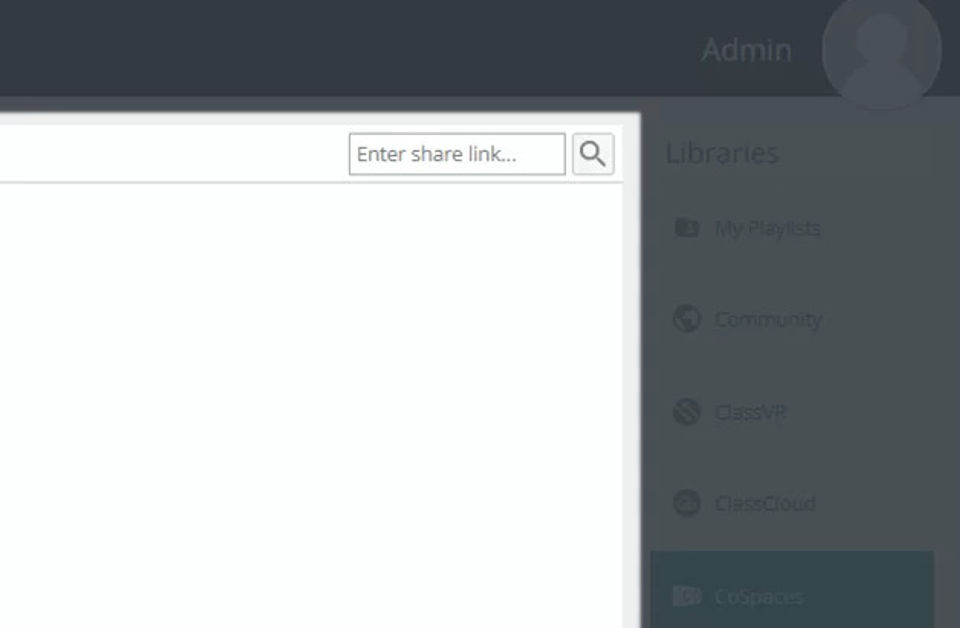
Go to http://portal.classvr.com and make sure you are in the Plan area. Select the delightexLibrary on the right-hand side.
In the search box you will see ‘Enter share link’. Paste the share link for your Delightex world, e.g. https://cospac.es/SmGf
This will create a Track which can then be dragged to the Playlist on the left.
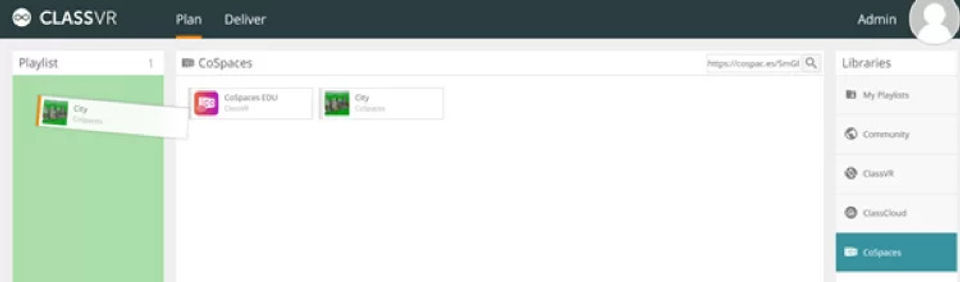
From here you can either click the icon for the Track to play, or select the Send to Connected Devices function.
Use the select/action button on the side of the headset to open the scene and to move within the space.