Avantis Educational Specialist (UK)
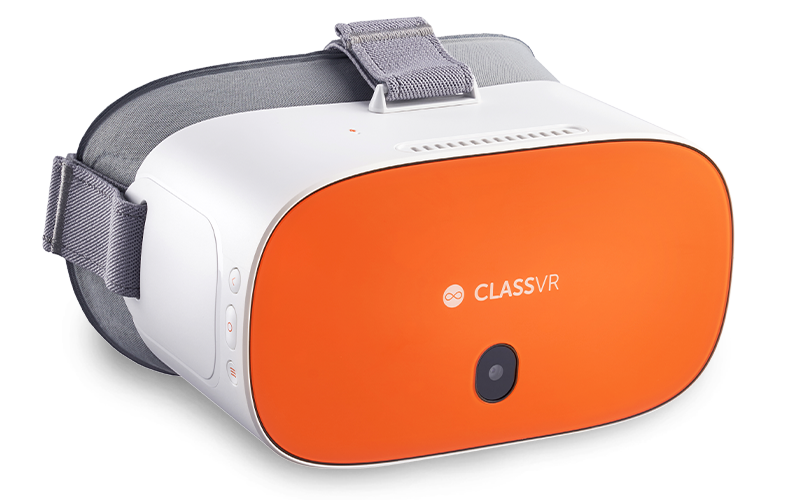
Minecraft has come a long way in the last few years. Since its release in 2011 the creative ‘sandbox’ game has gone from underground, indie building simulator to worldwide creative phenomenon. While teachers will no doubt be familiar with some of the terminology by now (Creepers? The Nether? Ender Dragon?) what you might not know is that Minecraft can export 3D models. This in turn means that you can use your ClassVR headsets to view Minecraft creations in augmented reality.
Firstly, it’s worth noting that there are two ways of achieving this. The easy way is only possible if you have the Windows 10 version of the game (this means you will have to download it from the app store specifically, rather than through the Minecraft website – don’t make the same mistake that I did!) Anyone running ‘Minecraft for Windows 10’ can follow the instructions HERE.
If, like me, you have an older account and are just running the standard game client, follow these steps to get your models uploaded into your personal or shared cloud on the ClassVR portal:
- Start up a new game of Minecraft. This can be on any map you like, however your game must be set to ‘Creative’ mode with ‘Allow Cheats’ set to ‘ON.’ I also prefer using a ‘Superflat’ world to create models, as it makes navigation much easier, however this comes down to personal preference.
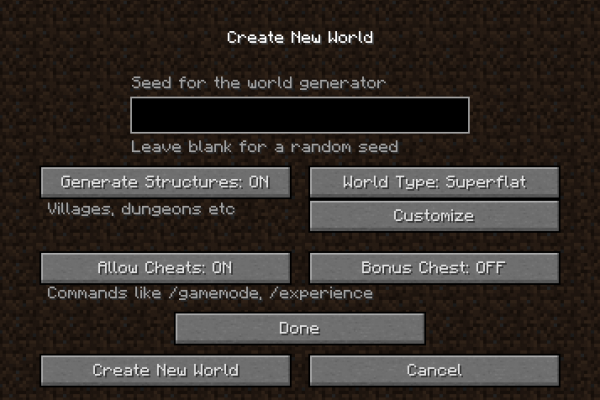
- When you first load into your world it is also a good idea to set the difficulty to ‘peaceful’ as this will stop enemies spawning while you’re building. Unless you like having your hard work destroyed by Creepers of course…
- Now the fun part! Using creative mode, you are able to generate anything you want without the need for the mining and gathering parts of the game, just press ‘E’ to open your inventory, move resources to your hotbar and get creative!
- Once you have finished your creation, the technical side of exporting begins. You will need to use a third-party program to generate the 3D model required by the ClassVR system. I prefer Mineways – which is what I’ll use here – but if you are interested in the other options, they can be found HERE.
- Save your world and stay logged in. Open Mineways and select ‘File’ then ‘Open World’. You should see your saved world here. Go ahead and open it, it should look something like this:
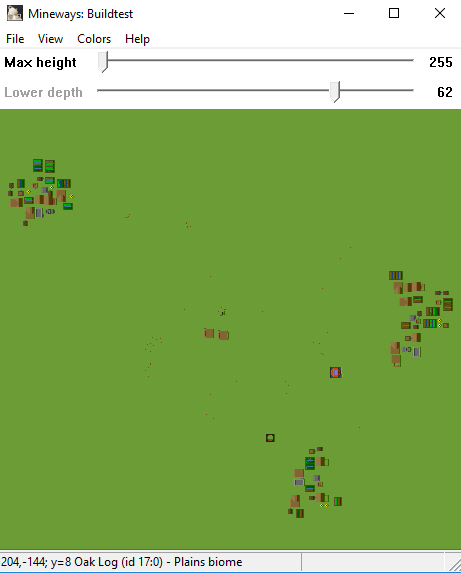
- Right click and drag around the structure you just built, this should highlight it in pink, meaning it is ready to be exported. Then click ‘File’ and ‘Export for rendering’. There are a lot of advanced options here that you can play with, however the defaults will normally work just fine. This will save a .obj file to your computer. It is worth creating a new folder for these files, as the program will create several files that will be stitched back together later – this can be confusing and slow if they are muddled up with your Downloads folder!
- Using file explorer, open the newly downloaded file in Windows Mixed Reality Viewer or Paint 3D.
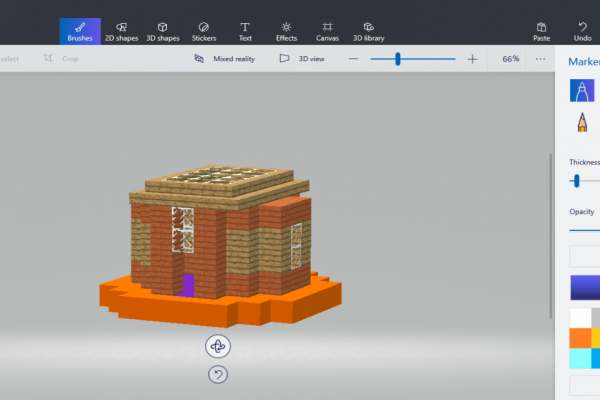
- Once you have your model in Paint 3D you can either upload it straight away or, if you are still feeling creative, use the painting and stickering tools to add extra details. When you’re happy, save your model as a .glb file and you’re ready to upload, (if you don’t know how to do this, see step 9!)
- If you have read my previous blog on exporting 3D models from Paint 3D then you will know that from here it’s smooth sailing! If not, click the link for instructions on uploading your creation to the ClassVR portal.
When you have your 3D model uploaded to the cloud, all that’s left to do is explore it using your ClassVR headsets and the ARCube. These steps can seem fiddly when you first try them, however with a little practice it is easy to master the process. The satisfaction of creating content within Minecraft and seeing it come to life in augmented reality is one of the great features of ClassVR

As always, we’d love to see your creations! If you or your students have made anything amazing in Minecraft, let us know on Twitter using #ClassVR or @ClassVR.