Did you know ClassVR integrates with Thinglink? From thinglink.com users can easily augment images, videos and virtual tours with additional information and links, and then import these 360 resources into the ClassVR portal to view!
Using ThingLink with ClassVR
Alongside the team from ThingLink HQ, our development team has created a simple interface within the ClassVR portal that allows you to seamlessly take ThingLink media and paste it into your subscriptions library, allowing users to implement the familiar ‘drag and drop’ system they will already be familiar with.
Using ThingLink alongside ClassVR means that the possibilities of being creative are endless! Why not take a range of 360-degree images, upload them to ThingLink, and create a virtual school tour like in the fantastic example below? You could even add in links to your website, or a video from the headteacher!
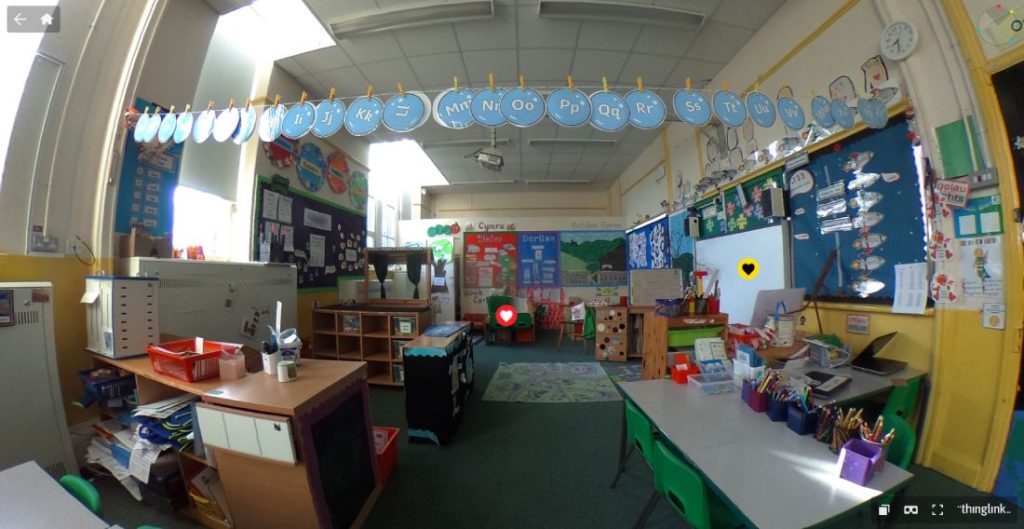
Click here to explore the amazing work of Penybont Primary school using Thinglink to communicate with their students during the COVID-19 lockdown.
Or, if you are teaching vocational subjects, and are trying to teach about aspects of Health and Safety, why not upload a 360 photo of an environment and then highlight the significant risks or dangers with hotspots.
NEW: Interactive 3D Models
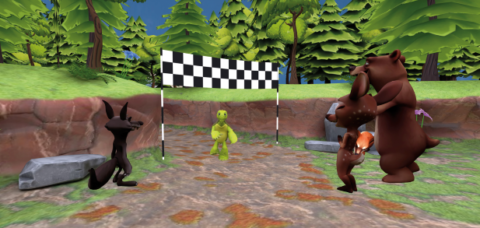
With ThingLink’s latest update, it is now possible to creative interactive 3D models too! The new model feature means that all users can create interactive 3D models, along with annotations, resulting in another way to increase opportunities for modern day learning and.
How can these be used in the classroom?
The interactive 3D models can be used in a variety of subjects and scenarios, including:
- Museums and galleries: Teachers can showcase historical collections or artefacts in a new engaging way using 3D models annotated with facts and expert commentary.
- Medical education: Teachers can show models of anatomy and physiology with additional information, references and links.
- Manufacturing: Teachers can use interactive 3D models in to develop their subject knowledge and departmental staff training.
Getting Started on ThingLink
First, you will need to create an account at thinglink.com to begin creating resources. For more guidance on creating within the ThingLink interface, access their knowledge bases and support articles.
Once you have your resource, click the share button at the top right of the page, copy the shareable link displayed on the screen and paste this in the search bar on the ThingLink subscription page within the ClassVR portal.
Now, you can use your ThingLink resources just like any other ClassVR tracks; just drag and drop them into a playlist to get started with this exciting new way to learn.
For more information on ThingLink and how it integrates with ClassVR you can check out our handy quick start guide.